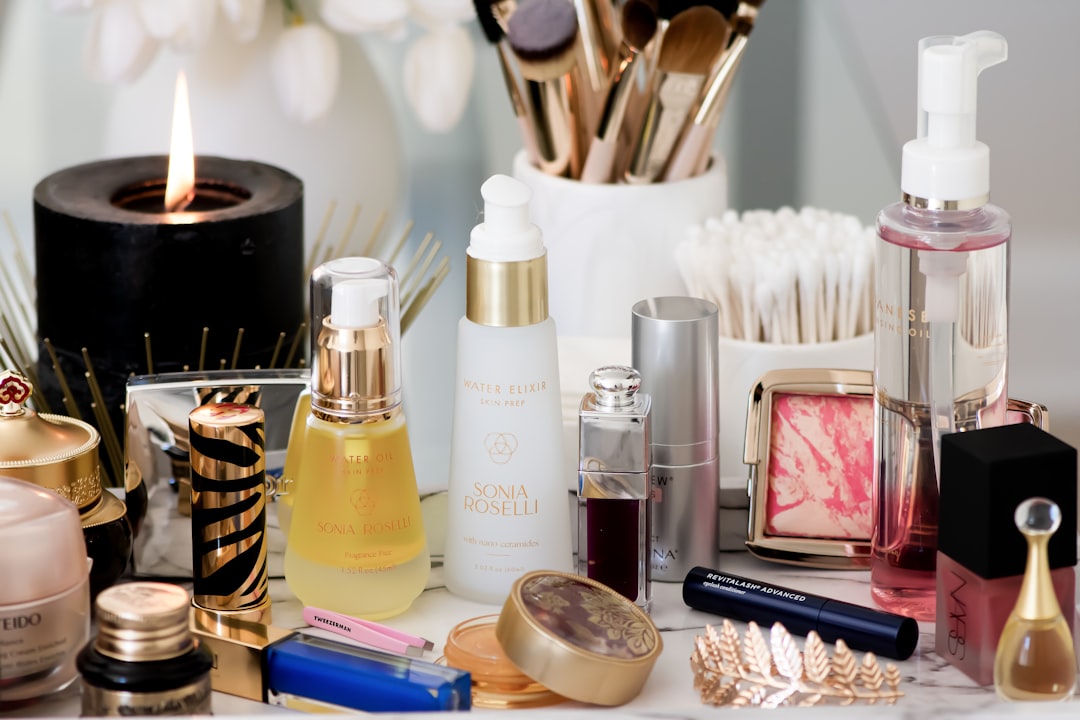
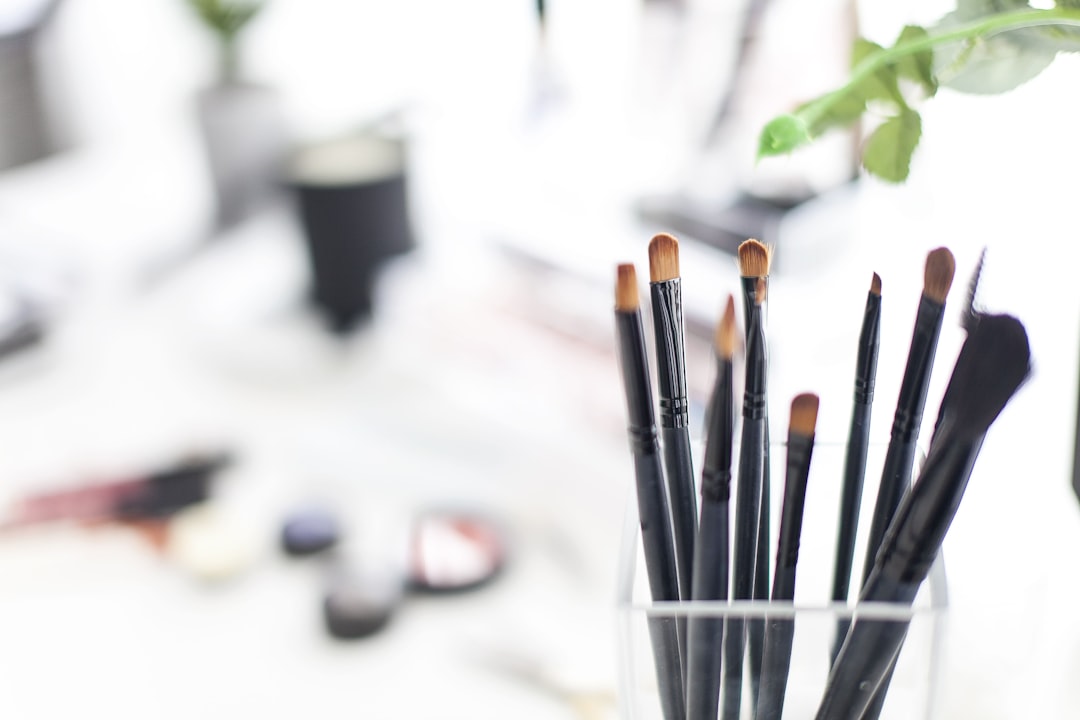
As a professional visagiste with over a decade of experience working with clients of all skin types and tones, I've come to realize that even the most premium makeup products can't deliver their full potential without the right tools. While fingers can work wonderfully for certain applications, makeup brushes offer precision, blending capabilities, and versatility that elevate your makeup from good to extraordinary.
In this comprehensive guide, I'll walk you through the essential brushes that every professional keeps in their kit, explain what makes each brush unique, and share techniques for using them effectively. Whether you're a makeup enthusiast looking to upgrade your collection or a beginner wondering where to start, this guide will help you invest wisely in tools that truly make a difference.
Understanding Brush Anatomy and Materials
Before diving into specific brush types, it's important to understand what makes a quality brush and how different materials affect application:
Brush Components
- Bristles/Hairs: The part of the brush that picks up and applies product
- Ferrule: The metal piece that connects the bristles to the handle
- Handle: Usually made of wood, plastic, or metal
Natural vs. Synthetic Bristles
Natural Hair Brushes
- Best for: Powder products (eyeshadows, setting powders, blushes)
- Properties: Natural cuticles help pick up and distribute powder products effectively
- Common types: Squirrel (softest, most expensive), goat (versatile, medium softness), pony (more affordable)
- Considerations: Require more careful cleaning and maintenance, not ideal for those who prefer cruelty-free options
Synthetic Brushes
- Best for: Liquid and cream products (foundations, concealers, cream blushes)
- Properties: Don't absorb product into the bristles, allowing for more efficient application
- Advancements: Modern synthetic fibers have become increasingly sophisticated, with some mimicking the performance of natural hair
- Considerations: Generally easier to clean, more durable, and cruelty-free
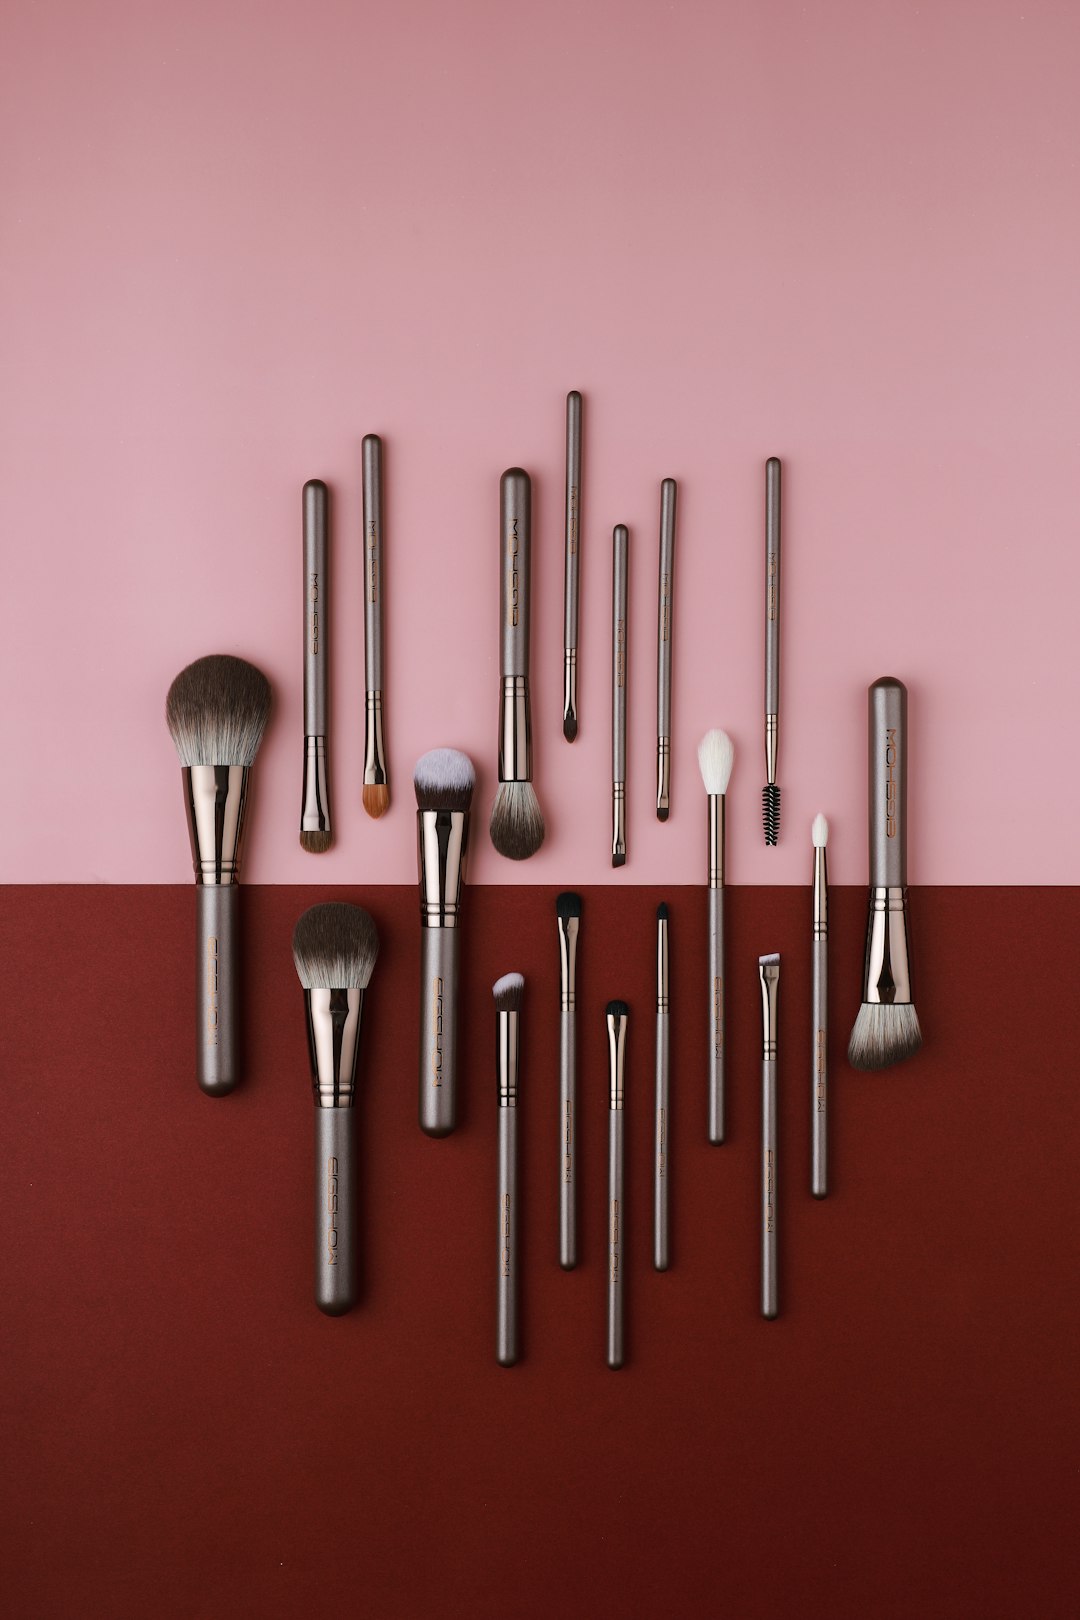
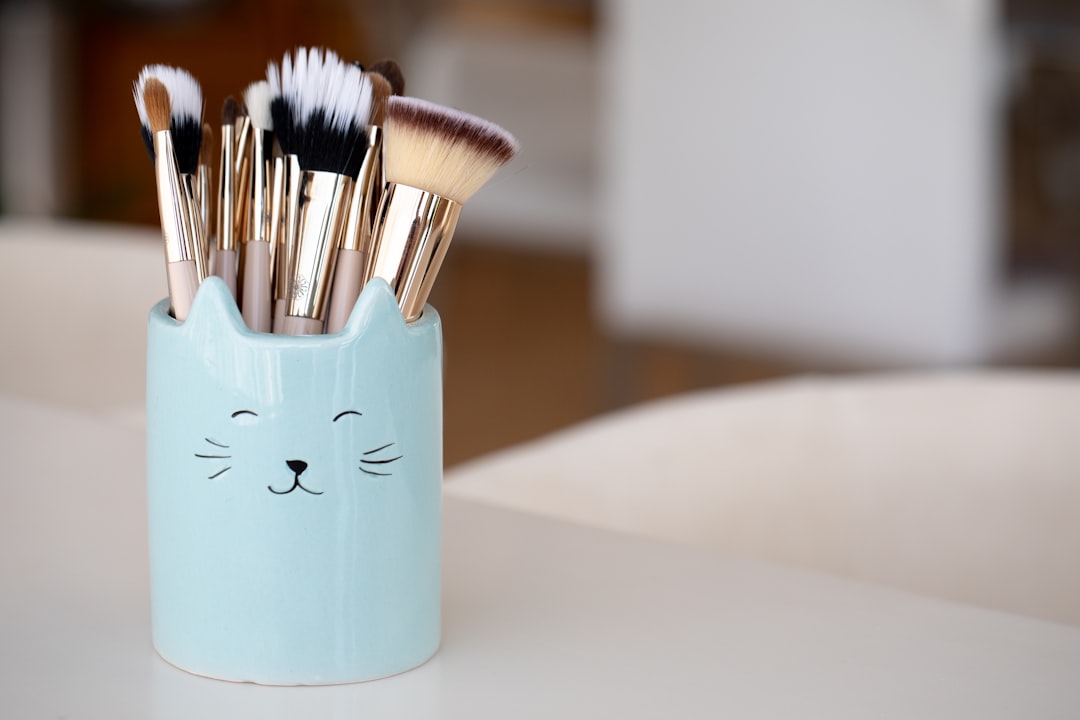
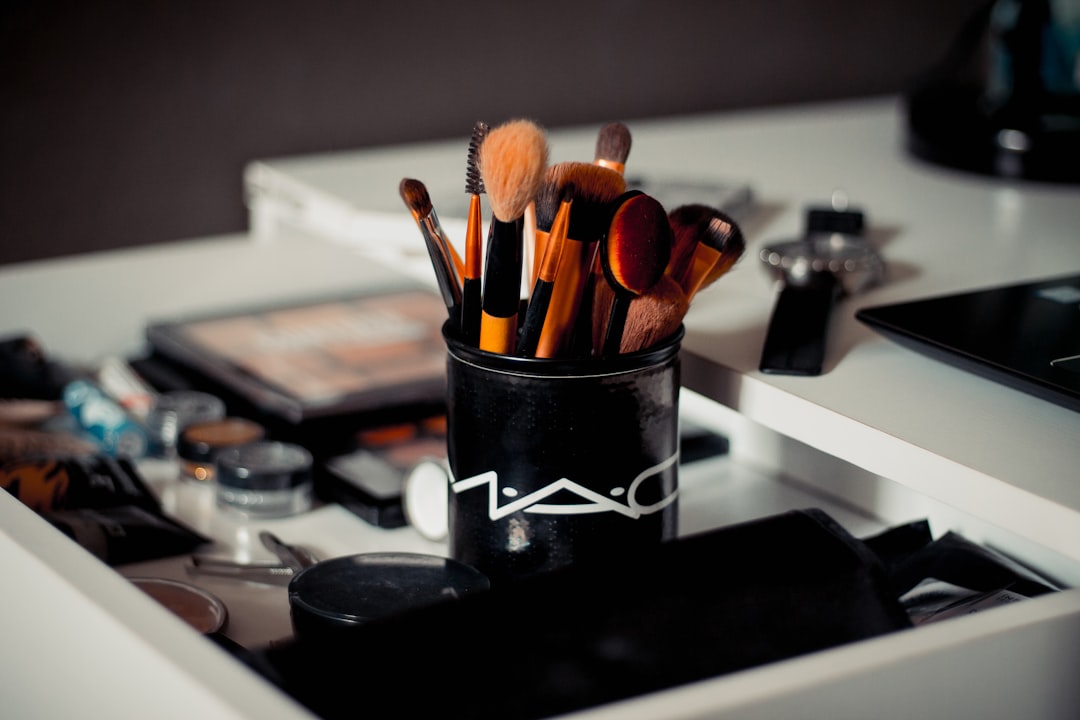
Essential Face Brushes
Foundation Brushes
Several types of brushes can be used for foundation, each creating a different finish:
1. Flat Foundation Brush
- Appearance: Flat, relatively firm, with a slight paddle shape
- Best for: Higher-coverage application and precision work
- Technique: Use downward strokes to avoid streaking, then stipple lightly to remove brush marks
- Materials: Synthetic bristles are ideal as they don't absorb liquid foundation
2. Buffing/Kabuki Brush
- Appearance: Dense, round, with a flat or domed top
- Best for: Buffing liquid or powder foundations for an airbrushed finish
- Technique: Use circular motions to work the product into the skin
- Materials: Synthetic or synthetic/natural blend
3. Stippling Brush
- Appearance: Dual-fiber brush with longer black fibers extending beyond white fibers
- Best for: Light, buildable coverage and applying liquid or cream products
- Technique: Stipple or bounce the brush on the skin rather than sweeping
- Materials: Synthetic dual-fibers
Concealer Brushes
Precision is key for concealer application:
1. Flat Concealer Brush
- Appearance: Small, flat, and slightly firm—like a miniature foundation brush
- Best for: Precise application under eyes and on blemishes
- Technique: Pat rather than sweep to maintain coverage
- Materials: Synthetic bristles
2. Domed Concealer Brush
- Appearance: Small with a rounded, slightly fluffy head
- Best for: Blending concealer seamlessly without disturbing foundation underneath
- Technique: Gentle tapping and small circular motions
- Materials: Soft synthetic bristles
Powder and Setting Brushes
1. Large Powder Brush
- Appearance: Large, fluffy, with a rounded or slightly tapered shape
- Best for: Applying setting powder all over the face
- Technique: Light sweeping or pressing motions, depending on desired coverage
- Materials: Natural hair (traditionally) or high-quality synthetic fibers
2. Setting/Blending Brush
- Appearance: Medium-sized, moderately dense, with a dome shape
- Best for: Blending face products together and applying setting powder to smaller areas
- Technique: Light circular motions to blend seamlessly
- Materials: Natural-synthetic blend works well
Cheek and Contour Brushes
1. Blush Brush
- Appearance: Medium-sized, fluffy, with a dome or angled shape
- Best for: Applying and blending powder or cream blush
- Technique: Smile to locate the apples of your cheeks, then sweep or tap product in an upward motion
- Materials: Natural hair for powder blush, synthetic for cream formulas
2. Contour Brush
- Appearance: Angled, more dense, often with a flatter profile
- Best for: Precise application of contour products under cheekbones and along jawline
- Technique: Follow the hollow under your cheekbones, using the angle of the brush to blend
- Materials: Natural-synthetic blend
3. Fan Brush
- Appearance: Thin, flat, with bristles spread in a fan shape
- Best for: Very light application of highlighter or for sweeping away fallout
- Technique: Light sweeping motions along high points of the face
- Materials: Natural or synthetic, depending on purpose

Essential Eye Brushes
Eye brushes allow for the detailed work necessary to create everything from natural enhancement to elaborate artistic looks:
Basic Eye Brushes
1. Shader Brush
- Appearance: Medium-sized, flat, with a rounded or squared tip
- Best for: Packing color onto the lid
- Technique: Press eyeshadow onto the lid rather than sweeping
- Materials: Natural hair picks up powder shadows best, but synthetic works for cream formulas
2. Blending/Crease Brush
- Appearance: Fluffy, rounded, tapered tip
- Best for: Diffusing and blending eyeshadow in the crease
- Technique: Use windshield wiper motions in the crease and small circles to blend edges
- Materials: Natural hair offers the best diffusion for powder products
3. Pencil Brush
- Appearance: Small, rounded, with a pointed tip like a pencil
- Best for: Detailed work like inner corners, outer V, and smoking out the lower lash line
- Technique: Use the tip for precise application and the side for blending small areas
- Materials: Natural-synthetic blend for versatility
Specialized Eye Brushes
1. Angled Liner Brush
- Appearance: Thin, flat, with an angled tip
- Best for: Applying gel or powder liner and defining brows
- Technique: Use the angle to create smooth lines, working in small strokes
- Materials: Synthetic for precision and easy cleaning
2. Smudger Brush
- Appearance: Small, dense, with a rounded or flat tip
- Best for: Smudging liner for a smoky effect or applying shadow as liner
- Technique: Press and roll along the lash line
- Materials: Dense synthetic bristles
3. Detailed Crease Brush
- Appearance: Like a smaller, more precise version of a blending brush
- Best for: Defining the crease with more precision, especially for hooded or small eyes
- Technique: Use to place color precisely before blending with a larger brush
- Materials: Natural hair for best blending
Lip Brushes
Lip Brush
- Appearance: Small, flat, with a tapered edge
- Best for: Precise application of lipstick, especially for defined edges
- Technique: Outline the lips first, then fill in, working from the center outward
- Materials: Synthetic bristles for smooth application and easy cleaning
Brush Care and Maintenance
Even the highest-quality brushes won't perform well without proper care. Here's how to maintain your investment:
Daily/Quick Cleaning
- Use a brush cleansing spray or pad between uses, especially when switching colors
- Wipe brushes on a microfiber cloth to remove excess product
- Store brushes upright or flat, never with bristles compressed
Deep Cleaning
- Wash brushes at least every 1-2 weeks, depending on frequency of use
- Use a gentle brush soap or baby shampoo
- Clean by swirling in the palm of your hand under lukewarm water
- Rinse thoroughly until water runs clear
- Reshape bristles and lay flat to dry with heads extending over the edge of a counter
- Never dry brushes standing up, as water can seep into the ferrule and loosen the glue
Building Your Brush Collection: Where to Start
If you're building a collection from scratch, here's a prioritized list to get you started:
Essential Starter Kit (5 Brushes)
- Buffing/foundation brush
- Multi-purpose powder brush (for setting powder and blush)
- Basic eyeshadow shader brush
- Fluffy blending brush for eyes
- Angled liner/brow brush
Intermediate Collection (Adding 5 More)
- Concealer brush
- Dedicated blush brush
- Contour brush
- Pencil brush for detailed eye work
- Lip brush
Professional Collection (Further Additions)
- Fan brush for highlighter
- Stippling brush for sheer foundation application
- Additional eye brushes in varying sizes
- Specialized brushes for specific techniques you frequently use
Investing Wisely: Quality vs. Price
While professional-grade brushes can be expensive, there are excellent options at various price points:
Where to Invest
- Blending brushes: High-quality bristles make a significant difference in blending efficiency
- Daily use brushes: Foundation and powder brushes you use every day should be durable
- Specialty brushes: For techniques you use frequently
Where to Save
- Trend-specific brushes: For techniques you might not use long-term
- Backup brushes: Secondary versions of brushes you already own
- Brushes for occasional use: Tools you'll only use for special occasions
Common Brush Mistakes to Avoid
- Using wet brushes with powder products: This can create hardpan on the surface of powders
- Not cleaning brushes regularly: Leads to poor application and potential skin issues
- Using the wrong brush for the technique: Results in uneven application
- Storing brushes improperly: Can damage bristles and ferrules
- Applying too much pressure: Quality brushes need gentle handling
Conclusion
As a professional visagiste, I consider my brushes to be extensions of my artistic ability. The right brush not only makes application easier but can transform the result from amateur to professional. While this guide covers the essentials, remember that the perfect brush collection is one that suits your specific needs and techniques.
Invest in quality over quantity, care for your brushes properly, and don't be afraid to experiment with different shapes and styles as your skills develop. Whether you're creating everyday looks or intricate artistic designs, the right tools will help you achieve your makeup vision with confidence and precision.