The eyes are often considered the focal point of any makeup look, capable of transforming your entire appearance with just a few techniques. As a professional visagiste who has worked on countless fashion shows, editorial shoots, and with private clients, I've developed an arsenal of advanced eye makeup techniques that can elevate your skills from basic to expert level. In this comprehensive guide, I'll share professional secrets that will help you create eye-catching looks for any occasion.
Understanding Eye Shapes
Before diving into techniques, it's crucial to understand that eye makeup isn't one-size-fits-all. The most skilled visagistes know how to adapt techniques to enhance different eye shapes:
- Almond Eyes: Considered the "standard" eye shape, almond eyes have a visible crease and are slightly uplifted at the outer corners.
- Hooded Eyes: The crease is partially or completely hidden when eyes are open, requiring specific placement of shadows.
- Monolid Eyes: Little to no visible crease, allowing for creative placement of colors without worrying about crease blending.
- Round Eyes: The whites of the eyes are visible all around the iris, giving a wide-eyed appearance.
- Downturned Eyes: The outer corners of the eyes angle downward, benefiting from lifting techniques.
- Upturned Eyes: The outer corners angle upward, creating a natural cat-eye effect.
- Deep-Set Eyes: Eyes sit deeper in the socket, creating a pronounced brow bone.
- Protruding Eyes: Eyes appear to bulge slightly, with the eyelids appearing more prominent.

Throughout this article, I'll note how to adjust techniques for different eye shapes, but remember: these are guidelines, not rules. Feel free to experiment and find what enhances your unique features.
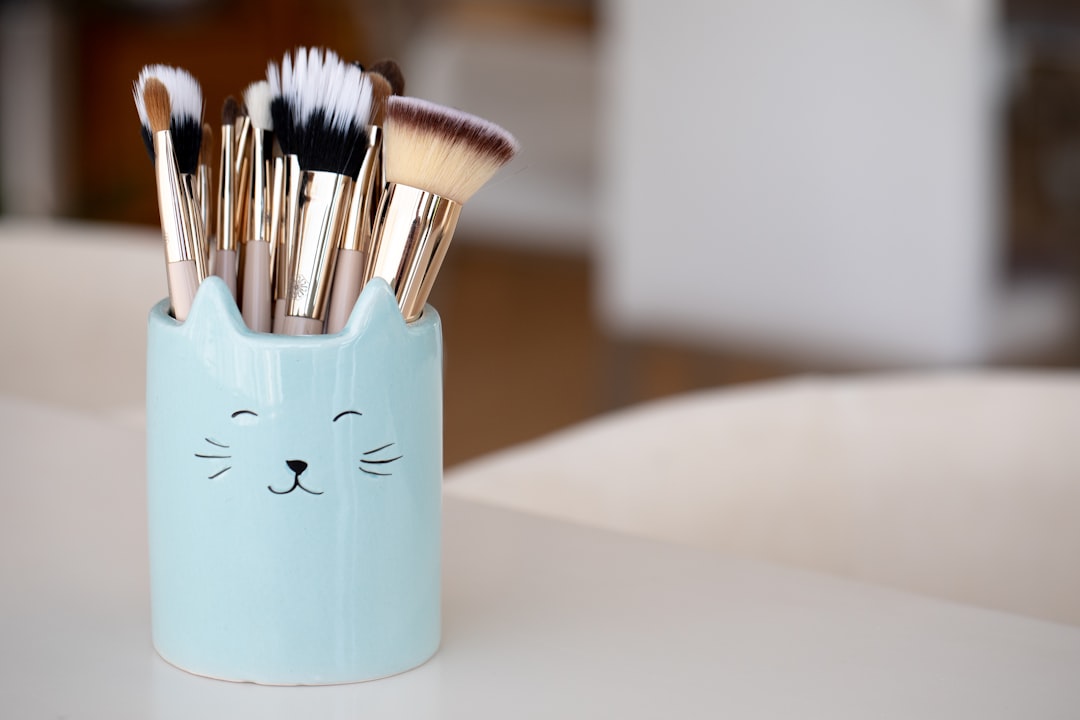
Professional Eye Makeup Tools
Having the right tools is half the battle when it comes to creating professional eye looks. Here's what you'll find in a visagiste's kit:
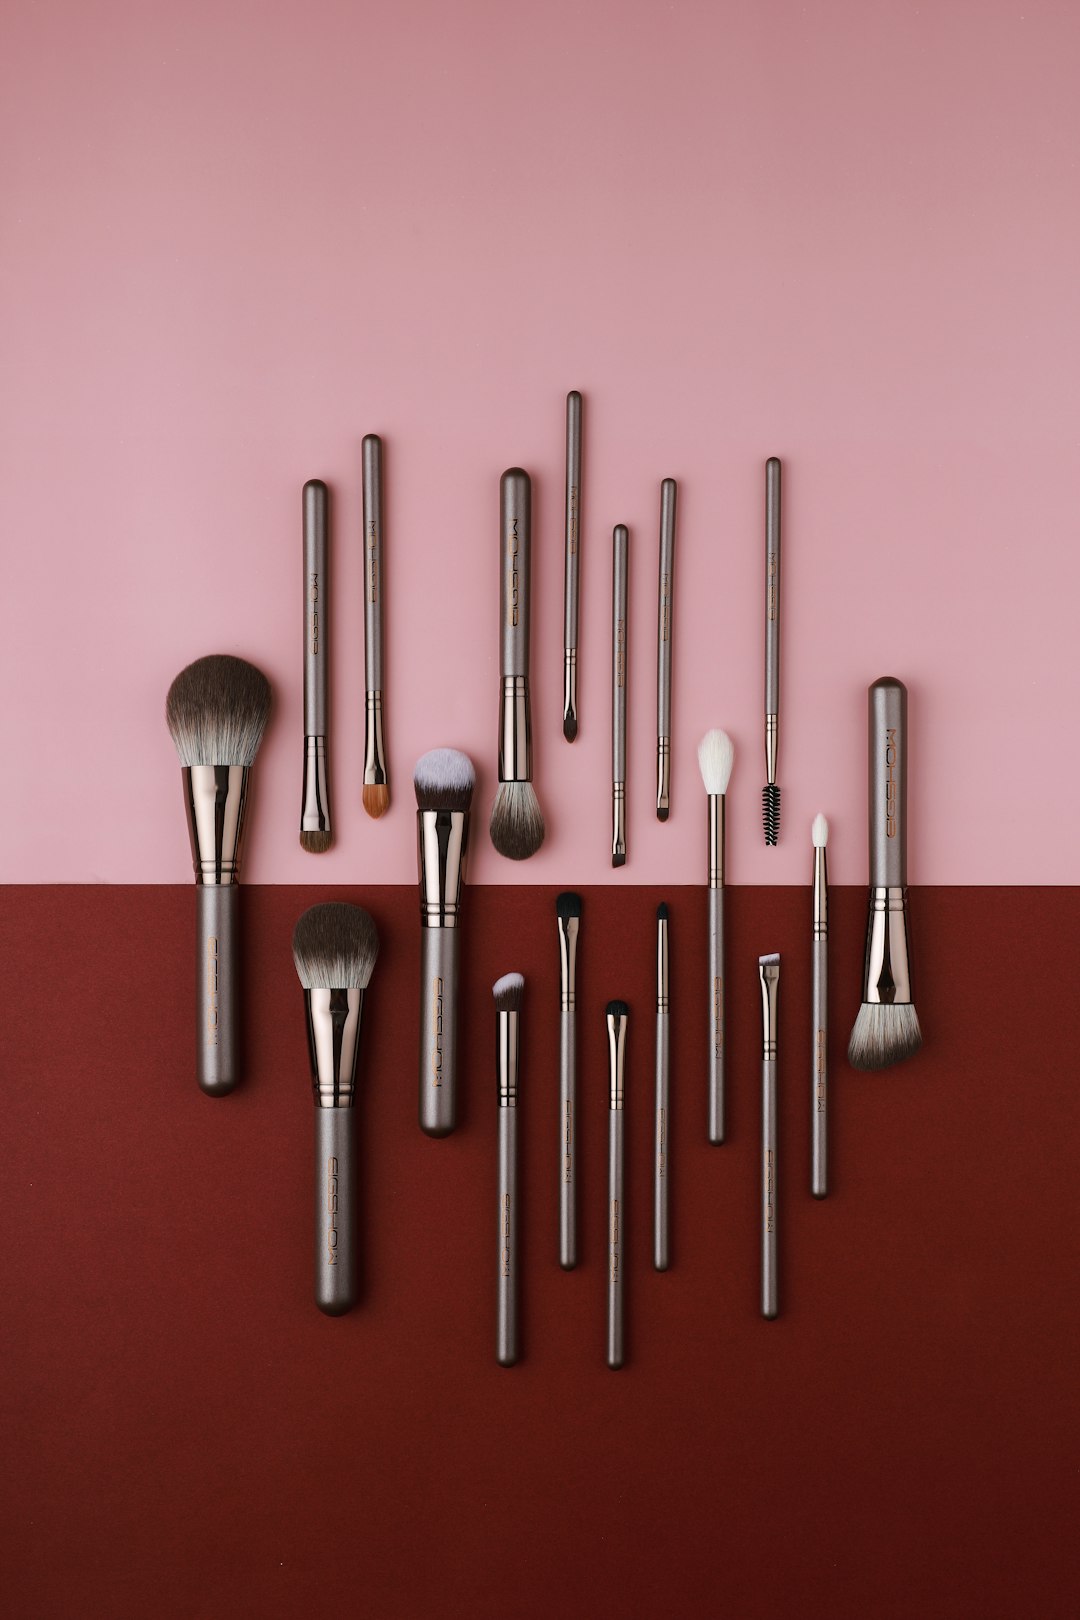
Essential Brushes
- Blending Brush: A fluffy, dome-shaped brush for seamlessly blending shadows
- Shader Brush: A flat, dense brush for packing color onto the lid
- Pencil Brush: A small, precise brush for detail work and smoking out the lash line
- Crease Brush: A tapered brush for defining the crease
- Angled Liner Brush: For precise application of gel or powder liner
- Spoolie: For combing through brows and lashes
Other Essential Tools
- Eye Primer: Creates a smooth base that enhances color and longevity
- Eyeshadow Shields/Tape: For creating clean edges and preventing fallout
- Color Corrector: To neutralize discoloration on the lids
- Mixing Medium: To transform powder shadows into liners or intensify metallic finishes

Advanced Color Theory for Eyes
Understanding color theory will take your eye makeup to the next level. Here are some key principles:
Enhancing Eye Color
To make eye colors pop, use contrasting shades from the opposite side of the color wheel:
- Blue Eyes: Warm coppers, terracottas, and peaches
- Green Eyes: Purple tones, plums, and mauves
- Brown Eyes: Blues, teals, and purples
- Hazel Eyes: Greens to enhance the green flecks, or purples to bring out the brown tones
Creating Depth and Dimension
Professional looks rely on the strategic use of color depth:
- Use darker shades in areas you want to recede (often the outer corner and crease)
- Use lighter, reflective shades in areas you want to bring forward (center of the lid, inner corner)
- Create gradients by using at least three shades of similar tones (light, medium, dark)
Master Blending Techniques
Blending is what separates amateur from professional eye makeup. Here are techniques I use in my professional work:
The Windshield Wiper
This technique uses back-and-forth motions in the crease to create a soft, diffused look:
- Use a fluffy blending brush with a small amount of transition shade
- Place the brush in the crease
- Use gentle back-and-forth motions, like a windshield wiper
- Keep your eyes open while blending to ensure the color is visible when your eyes are open
For hooded eyes: Blend slightly above the natural crease so the color is visible when eyes are open.
The Layering Method
Building color gradually is key to professional results:
- Start with a minimal amount of product
- Build color intensity gradually through multiple layers
- Blend between each layer
This approach gives you more control and prevents over-application, which is difficult to correct.
The Halo Eye Technique
This technique creates a spotlight effect on the center of the lid:
- Apply a darker shade to the inner and outer corners of the lid
- Leave the center of the lid empty or apply a base shade
- Blend the edges of the darker shade inward
- Apply a lighter, often shimmery shade to the center of the lid
- Blend where the light and dark shades meet
For deep-set eyes: Keep the darker shades closer to the lash line to avoid accentuating the depth.

Advanced Eyeliner Techniques
Eyeliner can dramatically change the shape and impact of your eye makeup. Here are some techniques beyond the basic line:
Tightlining
This technique involves applying liner directly to the upper waterline to create the illusion of fuller lashes without a visible line:
- Use a waterproof gel or pencil liner
- Gently lift your upper lid
- Apply liner directly to the waterline, getting as close to the lash roots as possible
Pro tip: Use a small angled brush to push the product between lashes from above for a seamless look.
The Invisible Wing
For a subtle lift without an obvious winged liner:
- Draw a thin line along the upper lash line, making it slightly thicker at the outer corner
- Instead of extending into a wing, slightly taper the end upward at the very edge
- Use a pencil brush to smoke out and blend the outer edge, maintaining the upward angle
For downturned eyes: This technique can create a subtle lifting effect.
Graphic Liner
For editorial and artistic looks, graphic liner makes a bold statement:
- Start with a precise plan or sketch
- Use a fine-tipped brush with gel liner or a liquid liner pen
- Create your design, working in small sections
- Clean edges with a cotton swab dipped in micellar water
Pro tip: For complex designs, create a light outline with a pencil first, then go over it with liquid or gel liner.

Signature Techniques of Professional Visagistes
The Multi-Textured Eye
Professional makeup artists often combine multiple textures for dimension:
- Use matte shadows in the crease and for transitions
- Apply satin or pearl finishes on the mobile lid
- Add a metallic or glitter accent on the center of the lid
- Finish with a matte liner or shadow along the lash line
This combination creates interest and dimension that catches the light in different ways.
The Under-Eye Enhancement
The lower lash line is often neglected but can transform a look:
- Use a small pencil brush to apply shadow under the lower lashes
- Start with the darkest color at the outer corner, aligning with your upper lid placement
- Gradually use lighter shades as you move toward the inner corner
- Keep the application softer and thinner than the upper lid
For round eyes: Concentrate color on the outer third of the lower lash line to elongate the eye shape.
The Inner Corner Highlight
A professional touch that makes eyes appear brighter:
- Use a small precision brush to apply a light, reflective shade to the inner corner
- Extend slightly onto the inner portion of the lower lash line
- For an editorial look, try an unexpected color like a pale pink, lavender, or even a subtle gold
Creating Eye Looks for Different Occasions
Daytime Professional
A polished look that's appropriate for work environments:
- Neutral matte shades in the crease
- Soft satin finish on the lid
- Tightlining instead of obvious liner
- Brown mascara for a softer finish than black
Evening Glamour
For events and special occasions:
- Deeper crease colors for definition
- Metallic or shimmer finishes on the lid
- Defined liner, potentially with a wing
- False lashes or multiple coats of volumizing mascara
Editorial and Artistic
For photoshoots, performances, or creative expression:
- Bold color combinations
- Graphic liner shapes
- Mixed media (shadows, liners, glitters, even face gems)
- Exaggerated shapes that extend beyond the natural eye area

Troubleshooting Common Eye Makeup Issues
Preventing Creasing
- Always start with an eye primer specifically designed to prevent creasing
- Set cream products with a matching powder
- Apply powder products in thin layers, building gradually
- For very oily lids, consider using an oil-controlling product before primer
Preventing Fallout
- Do eye makeup before face makeup
- Use eyeshadow shields or place tissue under eyes
- Tap excess product off brushes before applying
- For glitter or heavily pigmented shadows, apply with a slightly damp brush
Making Eyeshadow Last
- Layer powder shadow over a matching cream shadow as a base
- Spray setting spray on your brush before picking up metallic shadows
- Use a colorless setting powder lightly over the entire eye area
- Carry a small concealer brush for touch-ups throughout the day
Conclusion
Mastering advanced eye makeup techniques takes practice, but the results are worth the effort. Remember that even professional visagistes continually learn and evolve their techniques. The key is to understand the principles behind each technique so you can adapt them to your unique features and preferences.
I encourage you to practice these techniques one at a time, perfecting each before moving on to more complex combinations. Take photos of your work to track your progress, and don't be afraid to experiment with colors and placements that might be outside your comfort zone.
With these professional techniques in your arsenal, you'll be able to create eye-catching looks for any occasion, from subtle day makeup to dramatic evening glamour.